> ## Content Index
> Fetch the complete content index at: https://www.angularspace.com/llms.txt
> Use this file to discover other available public pages before exploring further.
# Decomposition: your real superpower
- URL: https://www.angularspace.com/decomposition-your-real-superpower/
- Published: 2024-05-16T01:49:50.000Z
- Updated: 2024-05-16T01:50:58.000Z
- Description: There is one engineering skill you can keep improving forever. It’s the ability to properly decompose complex tasks into digestible pieces. This is one of the most important traits of a good architect. Let's explore a complex task of dropdown infrastructure to see how we can approach it properly.
- Author: Alex Inkin
- Tags: Architecture, Decomposition, Directives, Articles
You can be learning Angular for quite some time, improving your skills with various aspects of the framework, learning patterns and best practices, but at the end, when you master your craft – there is one skill you can keep improving forever. It’s the ability to properly decompose complex tasks into digestible pieces. This is one of the most important traits of a good architect. If you feel like you have confidence in your senior level knowledge, I advise you focus your efforts in this direction to keep growing.
Let’s pick a difficult task and learn how we can approach it in a maintainable, future proof way with good architecture. I’ve been working on a component library [Taiga UI](https://github.com/taiga-family/taiga-ui?ref=angularspace.com) for many years now, having my fair share of mistakes, learning opportunities, insights and lessons learned. I believe a good example to explore the outlined subject is popovers. We will focus mostly on dropdowns, but this exact approach is also implemented in [Taiga UI](https://taiga-ui.dev/?ref=angularspace.com) for hints.
> ***"Give me six hours to chop down a tree and I will spend the first four sharpening the axe."*** \- Abraham Lincoln
## Understanding the task
While we all patiently wait for the [Popover API](https://developer.mozilla.org/en-US/docs/Web/API/Popover%5FAPI?ref=angularspace.com) to ship, or rather for browsers we have to support to catch up, we have to take care of many things ourselves. We will use “portals pattern” which is a common way to show popover content as it saves us from overflow/scrollbar and z-index issues. You can read more about it in my [older article](https://dev.to/taiga-ui/demystifying-taiga-ui-root-component-portals-pattern-in-angular-1fal?ref=angularspace.com).
So, with that prerequisite in mind let’s imagine we are tasked with creating a flexible dropdown infrastructure for our Angular app/library. First, we must breakdown the job into high level problems we need to solve:
1. We need to know **what** to show
2. We need to know **where** to show it
3. We need to know **when** to show it
Now that we have those questions written down, we can tackle them one by one. Note that they are pretty independent, which is a good sign. Decomposing is exactly about figuring out which parts of the solution can work in isolation from one another, making each responsibility small and maintainable. Let’s go over those list items and explore how to address them and why it has to be flexible in the first place.
## What to show?
In Angular we can pass pieces of content as interpolation, templates or dynamic components. This section is not about that. Dropdowns have a particular design around the content they show. So, we will focus on that. For passing the content I will direct you to my [article about a library](https://medium.com/angular-in-depth/agnostic-components-in-angular-2427923b742d?sk=7da9f7e1da12200bdeaa85ac493b9e1b&ref=angularspace.com) I created called **Polymorpheus**. Basically, it is a universal outlet, allowing you to use all those types of content I mentioned above without worrying about `ngTemplateOutlet`, `ngComponentOutlet` or interpolation – it is all taken care of for you by a polymorphic structural directive.
Why do we need to be able to show different components as our content containers? Sometimes our dropdowns or hints look radically different depending on the context, but that doesn’t mean we need to come up with completely new infrastructure for each of those cases. Below you can see GIFs of different popovers:
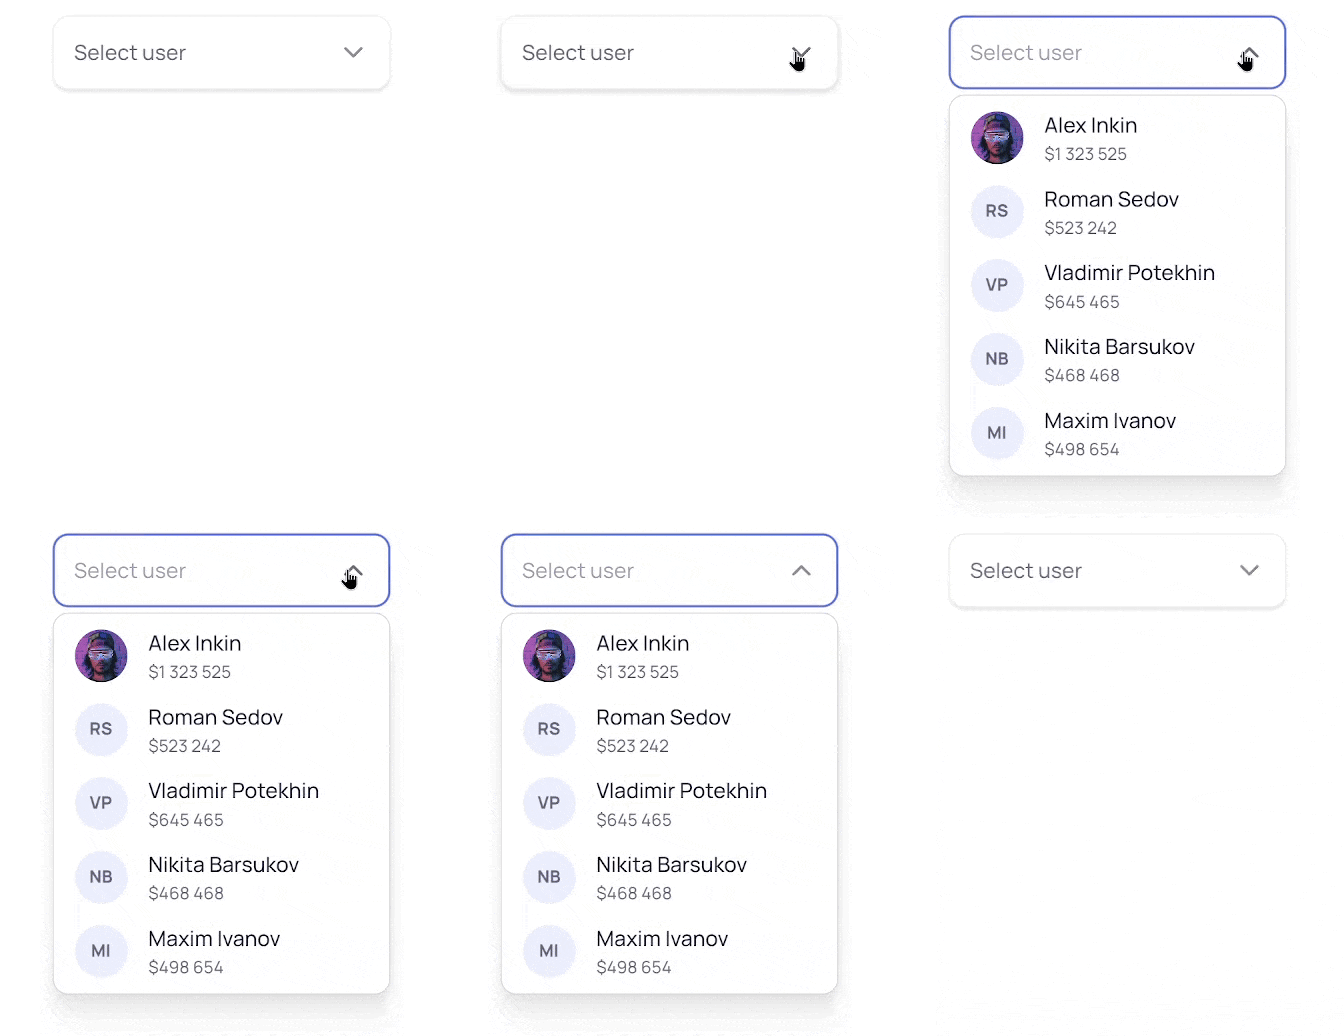
Desktop dropdown
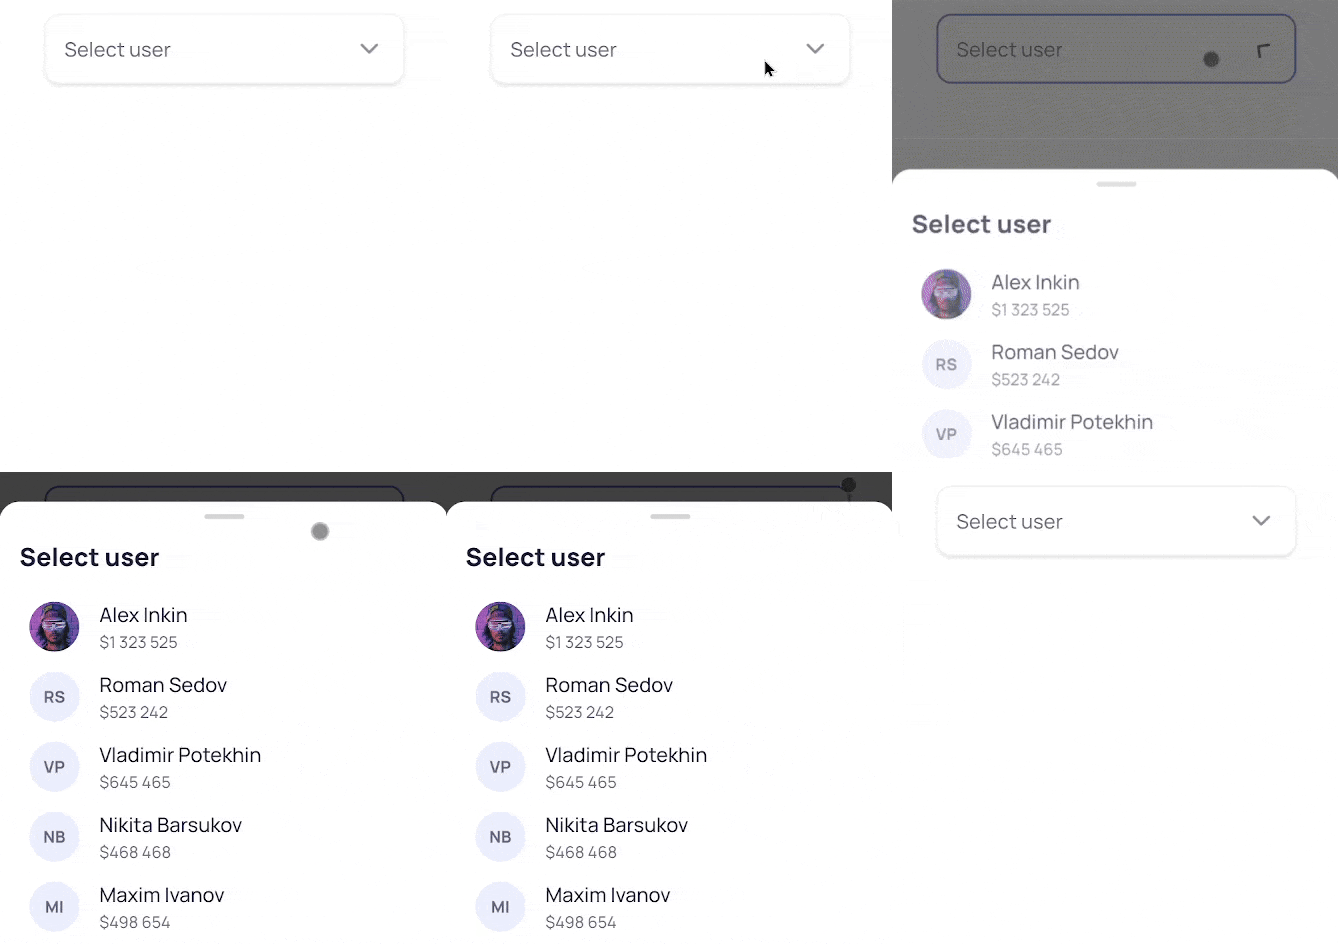
Mobile dropdown
We can achieve this by dependency injection. At the very end, our popovers are going to be dynamically created components. So why don’t we provide the component that needs to be created with a DI token? This way we can even have a default component and our directives can provide different implementations, as in the case for [LineClamp](https://taiga-ui.dev/components/line-clamp?ref=angularspace.com) hint component that uses CSS `line-clamp` to truncate content to a given number of lines and shows whole text in a popover upon touch/pointer hover, as opposed to default hint bubble with arrow.

Default hint
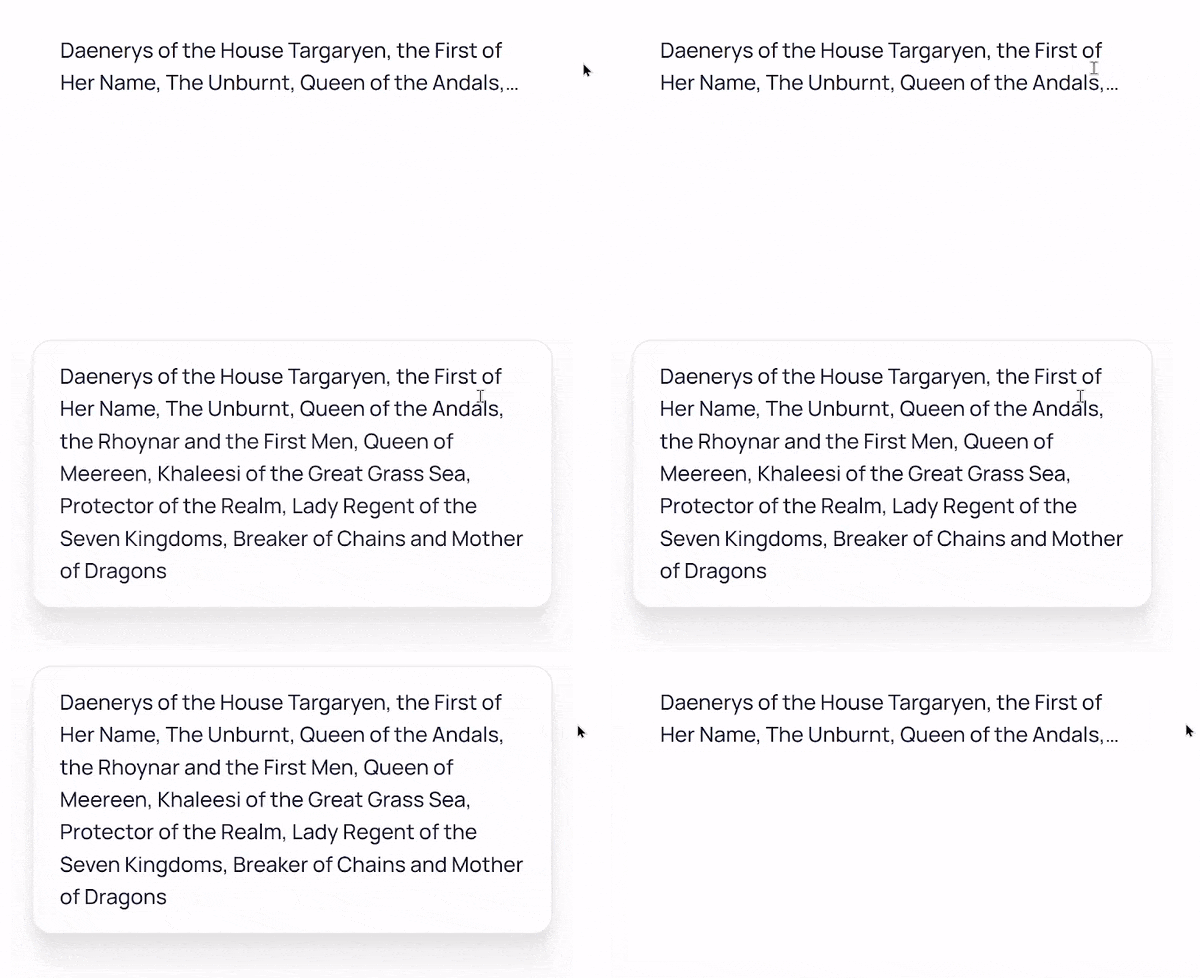
LineClamp hiint
This was the most straightforward part. Now that we know what to show we need to figure out where to show it.
## Where to show?
Determining position is not a trivial task. As a matter of fact, it’s probably going to be the most code you will write for this whole feature. We will not delve into actual JavaScript here, it’s pretty much just some arithmetics, based on the things we will discuss in this article.
First, each popover typically has some sort of a host. It can be a hint icon, a dropdown button or even selection for context menus or pointer position for hints following the cursor in a pie chart.
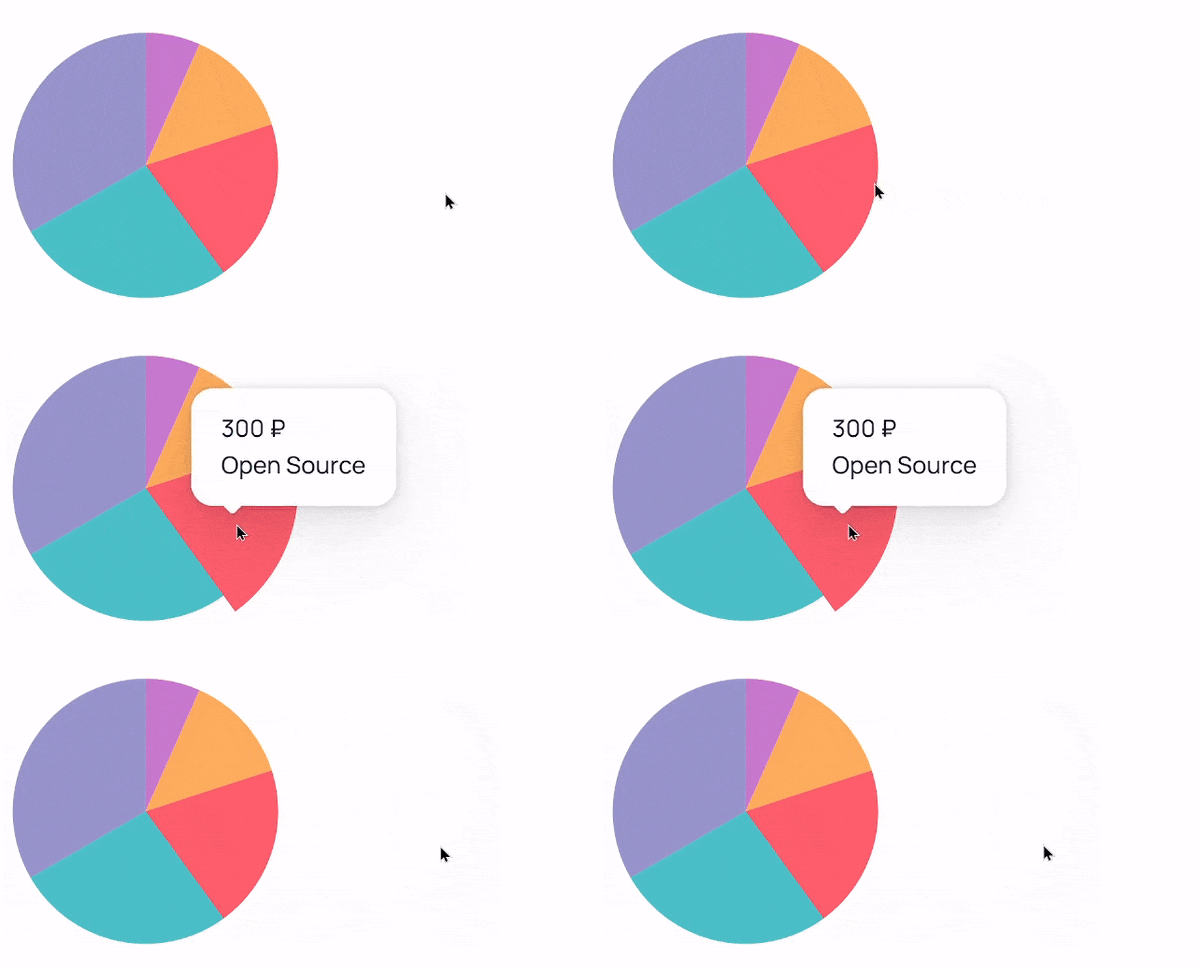
Hint following the pointer
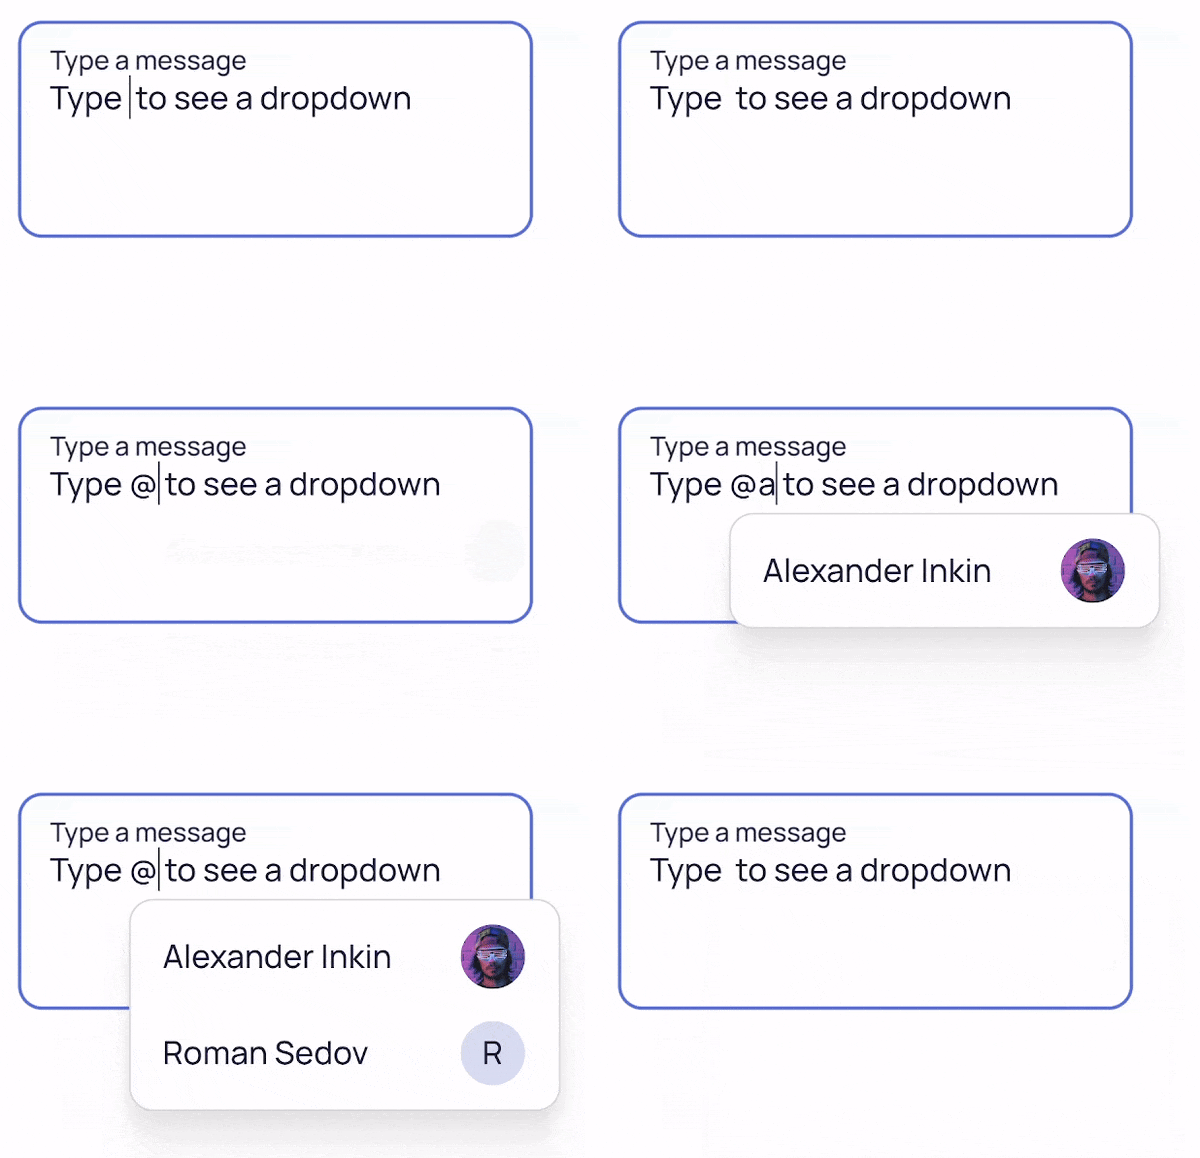
Context menu inside a textarea
In order to determine position, we will need to know where our host is located and how it looks. For that we will create our first abstract entity – `RectAccessor`. All it does is provide us a method to request `DOMRect` of our host when we need it.
Next, depending on the implementation, we need a second abstract class – `PositionAccessor`. It will allow us to pass popover `DOMRect` and retrieve the coordinates for our popover to be shown at, based on popover size and host `RectAccessor`. For example, **LineClamp** popover is shown at the exact position of the host, while hints are positioned so that the arrow head is pointing in the middle of the host and dropdowns are shown above/below the host at some given distance.
These abstract entities are what our components are going to work with and different directives will provide different implementations.
## When to show?
Now the last thing we need to take care of is showing and hiding our popovers. We can have different triggers, for example we can show hints on pointer hover or keyboard focus, we can show dropdowns upon clicks or context menus on right clicks, we can have manual popovers controlled by something else. In order to achieve this, we introduce another term – a `Driver`.
Basically, it’s just an `Observable` to toggle visibility of our thing (which we can call in contrast a `Vehicle`). Once again, directives will provide implementation. It’s a good idea to use it as a *multi token* so that you can augment already existing drivers with new ones, for example if your dropdowns typically open on click but a particular one you want to also show on hover.
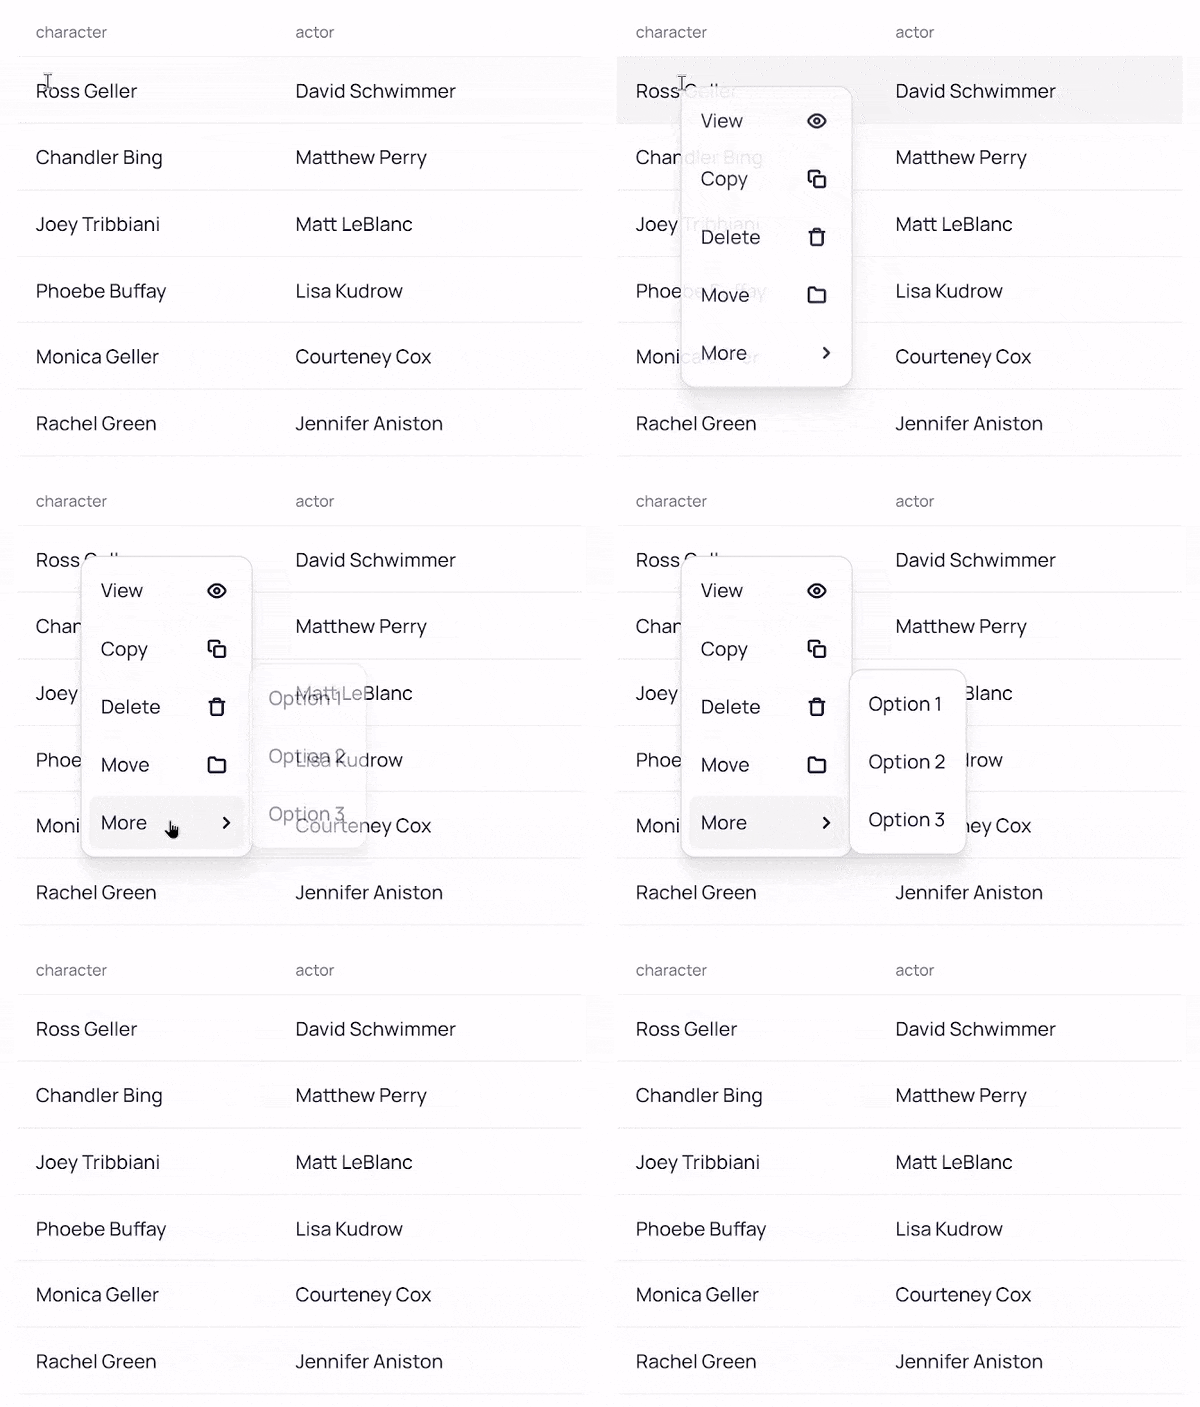
Multi level context menu
It is a textbook use case for **RxJS** since in a nutshell, it’s event management. You can chain multiple `fromEvent` calls into one resulting stream. For example, you might want to open a dropdown upon clicking, arrow down keypress or `pointerenter`, close it on the Escape button or click outside the host or the dropdown itself. While at the time of writing Angular shifts away from **RxJS** being a required knowledge I still strongly suggest you invest some time into getting proficient with it. Not only because it is super powerful when used properly, but because chances are, it’s [coming to native browser JavaScript](https://github.com/WICG/observable?ref=angularspace.com). You can check out my little [repository](https://github.com/AngularWave/rxjs-challenge?ref=angularspace.com) of bite size **RxJS** challenges to hone your skills.
## A recap
We are implementing a popover infrastructure. We decided to go with the portal approach and create dynamic components as portals above our app content. We have an `InjectionToken` holding a component we will create, so that directives can override it with different implementations. Depending on our needs we have directives that help us determine position of the popover providing us host `DOMRect` and an algorithm to determine, based on it and popover size, where to put the popover component. And to control when to show/hide our popover we have another set of directives. We can have default implementations in the basic hint/dropdown directive and fallback to it, unless custom behavior was provided by some directive.
Let’s explore a few examples from [Taiga UI](https://taiga-ui.dev/?ref=angularspace.com):
```HTML
```
```HTML
In this block hint follows cursor
```
Because of hierarchical nature of DI we do not need access to the actual dropdown directive to provide a custom component somewhere up the tree:
```HTML
Select user
```
## Actual code
Here’s a stripped-down version of the code described above for a typical dropdown. Obviously real life situations require more nuances taken care of, but this will give you the general outlook.
First we need a component to show. As we discussed, it will be a token with default value:
```JS
export const DROPDOWN_COMPONENT = new InjectionToken('', {
factory: () => DropdownComponent,
});
```
In the GIF above we saw a mobile sheet-like dropdown for Select. This can be achieved by a directive:
```JS
@Directive({
// ...
providers: [
{
provide: DROPDOWN_COMPONENT,
useFactory: () =>
isMobile(inject(DOCUMENT).defaultView.navigator.userAgent)
? DropdownMobileComponent
: inject(DROPDOWN_COMPONENT, {skipSelf: true}),
},
],
})
export class DropdownMobileDirective {}
```
This directive injects `DOCUMENT` to test `userAgent`, and if we are on a mobile device — provides mobile implementation. Otherwise it falls back to the previous value up the DI hierarchy tree.
Next we will take care of positioning. Like I said, we’ll not explore the position calculation so imagine we have `PositionDirective` to do all the math with coordinates. But to do so we will need a `RectAccessor`:
```JS
export class RectAccessor {
private readonly element = inject(ElementRef).nativeElement;
// Required RectAccessor method
public getRect(): DOMRect {
return this.element.getBoundingClientRect();
}
}
```
We will need a driver directive, connecting all the drivers with the vehicle:
```JS
export class DriverDirective {
private readonly vehicle = inject(Vehicle);
// Injecting multi token Driver and merging all the streams
private readonly sub = merge(...inject(Driver))
.pipe(distinctUntilChanged(), takeUntilDestroyed())
.subscribe(this.vehicle.toggle.bind(this.vehicle));
}
```
A dropdown directive is the vehicle:
```JS
@Directive({
// ...
providers: [{ provide: Vehicle, useExisting: DropdownDirective }],
hostDirectives: [DriverDirective, RectAccessor, PositionDirective],
})
export class DropdownDirective {
// To handle component creation
private readonly service = inject(DropdownService);
private readonly component = inject(DROPDOWN_COMPONENT);
public dropdown = input(''); // string, template, component
// Required Vehicle method
public toggle(show: boolean): void {
this.dropdownBoxRef = this.service.toggle(this.component, show);
}
}
```
Our `DROPDOWN_COMPONENT` will inject `PositionDirective` once created to query it for the position it should be placed at. And `DropdownService` is just responsible for creating and destroying dynamic components as portals somewhere in the DOM where we want to place them. Now all we need is a driver to toggle visibility. The most basic one is manual dropdown, controlled by external input:
```JS
@Directive({
// ...
providers: [{ provide: Driver, useExisting: DropdownManual, multi: true }],
})
export class DropdownManual extends Observable {
public open = input(false);
constructor() {
super(subscriber => toObservable(this.open).subscribe(subscriber));
}
}
```
More complex drivers such as hover or context menu, keyboard or clicks follow the same basic logic — we compose a stream and provide it as a `Driver`. Exploring the code to do so goes beyond the scope of this article.
## Conclusion
Angular is a very well-designed framework. It promotes architectural best practices with directives composition, dependency injection for altering implementations, multi tokens, services and `hostDirectives` – all the tools you might need to create maintainable, extendable solutions. When customers come up with new requests, I’m confident it would not take a complete feature rewrite because, when properly implemented, Angular code does not just look beautiful – it also allows you to expand capabilities keeping fundamentals intact.
So, my biggest advice to you here is: **before writing any code, think hard whether or not this code needs to be written**. Take some time to properly architect your feature, think beyond your current specifications, try to build infrastructure for accommodating needs, rather than a concrete solution for specific requirements. You have everything you need, learn how to use it well and not only will you be a brilliant addition to any team, but writing code will be a pleasure. After all, we went into engineering because we love solving problems and Angular is effective and ergonomic in that regard.
---

---
[](https://angular-university.io/?ref=angularspace.com)